Codex · Combat rules
Four rounds.
Every shot counted.
What happens when a fleet attacks a world, and which ships beat which. Ship stats and matchups here come straight from the game, so they are always current.
- 1Round 1
- 2Round 2
- 3Round 3
- 4Round 4
- Verdict
Both sides fire every round. It ends early the moment one side is gone.
Anatomy of a round
What happens each round
Both fleets shoot at the same time, then the wrecks are cleared. This repeats up to four times.
Who gets shot
Your ships spread their fire across the enemy fleet, and a big group draws more fire than a small one. Tanks pull extra fire onto themselves. Warships mostly ignore cargo ships and scouts.
The exact rule
share of fire on a type = (their count × aggression) ÷ (the same, added up over every enemy type)
- Aggression above 1 pulls fire toward a target, which is how tanks soak hits meant for the rest of your fleet. Each ship card below says how many guns lean toward it.
- Aggression below 1 pushes fire away. It belongs to the pairing, not the ship, and it only decides who gets shot, never how hard.
Where the fire goes
Illustration, not to scale
How hard it hits
A ship's attack sets its damage. Some ships are built to hunt certain others and hit them much harder: the matchup grid below shows every pair. Weapons from the Armory add more.
The exact rule
- Weapons add flat points: an autocannon adds attack, plating adds hit points, a targeting suite adds tracking. Points average across the group, so arming half your fighters gives the group half the lift. Some weapons add attack only against light hulls, others only against heavy ones.
- The battle scale is the same for every fight and keeps a battle from ending in one volley. A world's shield cuts the attacker's damage and never the defender's.
Same gun, three targets
Illustration, not to scale
Can it keep up?
Big guns turn slowly. Against a ship faster than its guns can follow, only part of the fire lands. Ground defences never move, so every shot hits them.
The exact rule
tracking = shooter's tracking ÷ target's speed, capped at 100%
Gun tracking is its own stat, separate from how fast the hull flies. There is a floor, so a slow gun never drops to nothing. Targeting modules from the Armory raise tracking.
Same guns, two targets
Illustration, not to scale
Ships go down
Damage is divided by a ship's hit points to see how many die, which is why big ships are hard to kill. Damage that falls short carries into the next round. No ship type can be wiped out in a single round.
The exact rule
ships destroyed = damage ÷ one ship's hit points, rounded down
- 50% of the damage that fell short carries into the next round against the same type. Damage held back by the one round limit goes there too. Enough damage to kill one ship always kills at least one.
- Both sides shoot at once. A ship destroyed this round still fired, because wrecks are cleared only after both volleys land.
One volley into four ships
Illustration, not to scale
Repairs
Combat Engineers patch up damaged ships on their own side between rounds. They cannot bring back a ship that was destroyed.
The exact rule
Repair erases the carried over damage from step 4. A few Engineers go a long way: once that damage is fully mended, more repair does nothing.
Between rounds
Illustration, not to scale
Breaking off
Fast ships get away
A losing attacker does not have to fight to the last ship.
When an attack is going badly, the attacker's ships try to flee from round two on. Faster ships get away more often. Ships that escape fly home safely with their weapons. Defenders never flee.
The exact rule
Before rounds 2, 3 and 4, an attacker who is weaker (see who wins, below) and has already lost at least 35% of its ships rolls to escape, one roll per ship type.
escape chance = ship speed ÷ 15, at most 85%
Ships that escape do not count as losses. Race speed bonuses are for travel only and do not change this roll.
Warship speed · faster escapes more often
- Xandir Raider14
- Centaurian Privateer9
- Fighter8
- Corvette8
- Buckler8
- Combat Engineer8
- Frigate7
- Destroyer6
- Cruiser5
- Battleship4
- Bulwark4
- Terellian Harbinger4
- Dreadnought3
- Colossus2
The verdict
Who wins
The side left standing wins. If both survive all four rounds, the stronger side wins. Read down the list: the first line that fits decides it.
Before the fight
- 1A player attacks a player less than half as strong. Nobody fightsNo contest
When the fighting stops
- 2Every attacker is gone, and some of them fledAttacker withdrew
- 3Both sides are destroyedStandoff
- 4The attacker is destroyedDefender wins
- 5The defender is destroyed, or the attacker is stronger after round 4Attacker wins
- 6Anything else: the defender held onStandoff
What counts as stronger
Guns and hull together. A fleet with no guns left has no strength, however tough it is. A tie goes to the attacker.
The exact rule
strength = all the damage a side can deal × all the hit points it has left
The same test decides when a losing attacker starts to flee. The world's shield is not counted here, and cargo ships you bring add to your hit points.
The spoils
What the winner takes
Roids
Only a winning attacker takes roids: up to 25% of the target's, if the fleet has cargo room.
The exact rule
Each roid needs 10 cargo space in your surviving fleet, and you take at least one if you have room. Beginner protection, the night shield and a bunker all shrink the take. Centaurians carry more and take a little extra.
Salvage
The winner collects part of what the destroyed ships were worth. Nothing is taken from the loser's stockpile.
The exact rule
A winning attacker fills its spare hold with a share of what the destroyed ships, defences and weapons cost. A defender who wins, or sees the attacker withdraw, is paid for the attackers it destroyed. Beginner protection, the night shield and a bunker shrink the attacker's salvage too.
Standoff
Nobody gets anything. No contest pays nothing either.
The exact rule
At a mission site, destroying every enemy ship still claims the reward even if the site's ground defences survive.
Rock, paper, scissors
Every matchup in the game
Bigger is not automatically better. Most ships hit a few targets harder and a few softer, and some have no damage edge at all: their job is to draw fire. Every other pairing is an even fight.
Hover or tap any square to see what it means. Each row is the ship firing, each column the target.
| Shooter ↓ Target → | Fighter | Corvette | Frigate | Destroyer | Cruiser | Battleship | Dreadnought | Centaurian Privateer | Xandir Raider | Colossus | Buckler | Bulwark | Terellian Harbinger | Combat Engineer | Laser Turret | Missile Launcher | Plasma Bastion | Probe | Scout Ship | Light Hauler | Bulk Freighter | Heavy Barge | Ore Miner |
|---|---|---|---|---|---|---|---|---|---|---|---|---|---|---|---|---|---|---|---|---|---|---|---|
| Fighter | · | · | · | · | 0.85 | 0.85 | 0.85 | · | · | 0.85 | · | · | · | · | 0.7 | 0.7 | 0.7 | · | · | · | · | · | · |
| Corvette | 1.6 | · | 1.5 | 1.5 | 0.6 | 0.6 | 0.6 | 1.5 | 1.6 | 0.6 | · | · | · | · | 0.7 | 0.7 | 0.7 | · | · | · | · | · | · |
| Frigate | · | · | · | · | · | · | · | · | · | · | · | · | · | · | · | · | · | · | · | · | · | · | · |
| Destroyer | · | · | · | · | 1.3 | 1.3 | 1.3 | · | · | 1.3 | · | · | · | · | 1.6 | 1.6 | 1.6 | · | · | · | · | · | · |
| Cruiser | · | · | · | · | · | · | · | · | · | · | · | · | · | · | · | · | · | · | · | · | · | · | · |
| Battleship | · | · | · | · | 1.4 | · | · | · | · | · | · | · | · | · | · | · | · | · | · | · | · | · | · |
| Dreadnought | · | · | · | · | 1.4 | · | · | · | · | · | · | · | · | · | · | · | · | · | · | · | · | · | · |
| Centaurian Privateer | · | 1.2 | · | · | · | · | · | · | 1.2 | · | · | · | · | · | · | · | · | · | · | 1.2 | · | · | 1.2 |
| Xandir Raider | · | · | · | · | · | · | · | · | · | · | · | · | · | · | 0.7 | 0.7 | 0.7 | · | · | · | · | · | · |
| Colossus | · | · | · | · | 1.4 | · | · | · | · | · | · | · | · | · | · | · | · | · | · | · | · | · | · |
| Buckler | · | · | · | · | · | · | · | · | · | · | · | · | · | · | · | · | · | · | · | · | · | · | · |
| Bulwark | · | · | · | · | · | · | · | · | · | · | · | · | · | · | · | · | · | · | · | · | · | · | · |
| Terellian Harbinger | 0.4 | 0.4 | · | · | · | · | · | · | 0.4 | · | · | · | · | · | 1.8 | 1.8 | 1.8 | · | · | · | · | · | · |
| Combat Engineer | · | · | · | · | · | · | · | · | · | · | · | · | · | · | · | · | · | · | · | · | · | · | · |
| Laser Turret | 1.5 | 1.5 | 0.6 | 0.6 | 0.6 | 0.6 | 0.6 | 0.6 | 1.5 | 0.6 | 1.5 | 0.6 | · | · | · | · | · | · | · | · | · | · | · |
| Missile Launcher | 0.6 | 0.6 | 1.5 | 1.5 | 0.6 | 0.6 | 0.6 | 1.5 | 0.6 | 0.6 | 0.6 | 0.6 | · | · | · | · | · | · | · | · | · | · | · |
| Plasma Bastion | 0.6 | 0.6 | 0.6 | 0.6 | 1.5 | 1.5 | 1.5 | 0.6 | 0.6 | 1.5 | 0.6 | 1.5 | · | · | · | · | · | · | · | · | · | · | · |
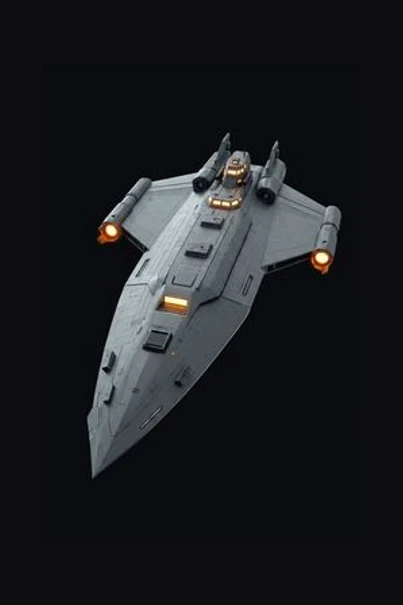
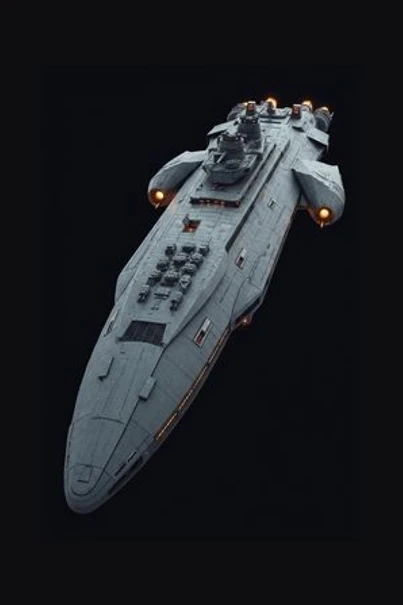
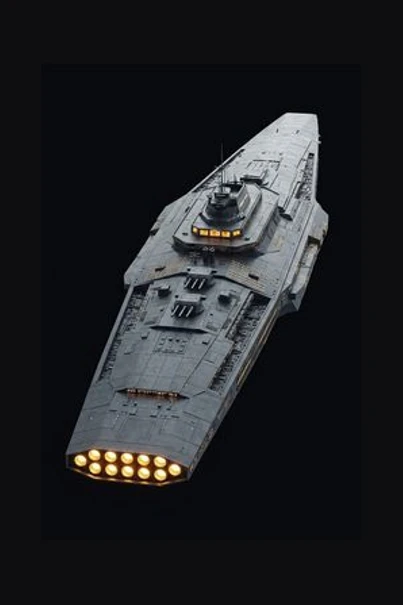
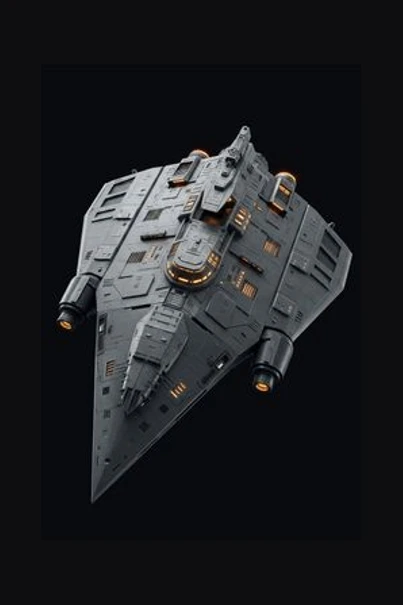
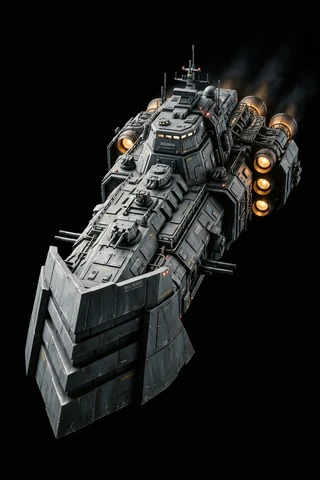
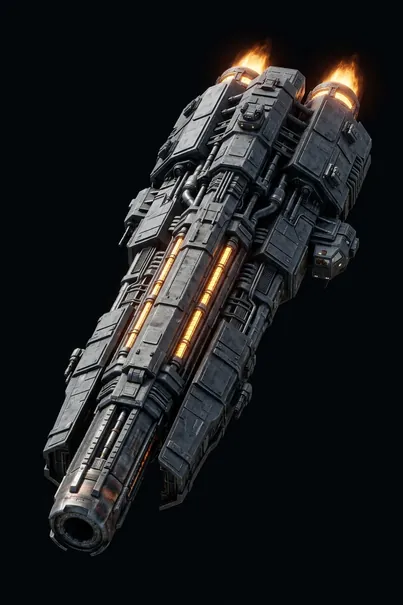
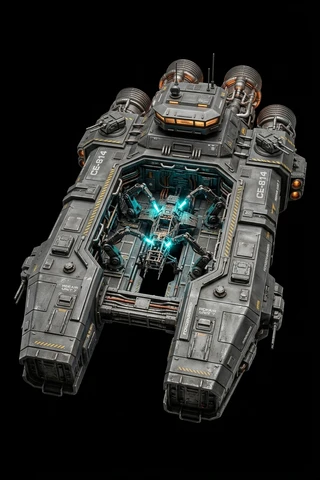
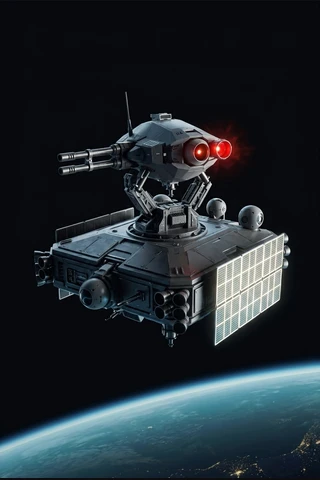
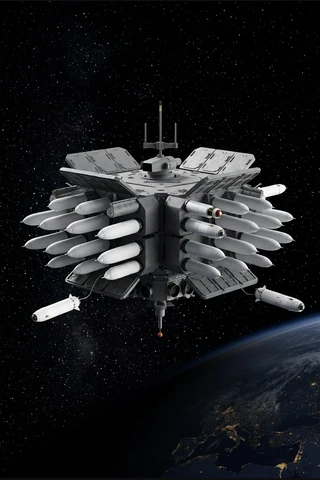
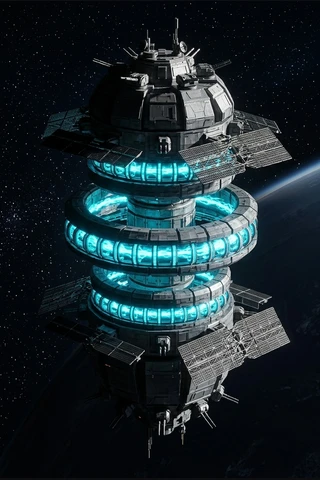
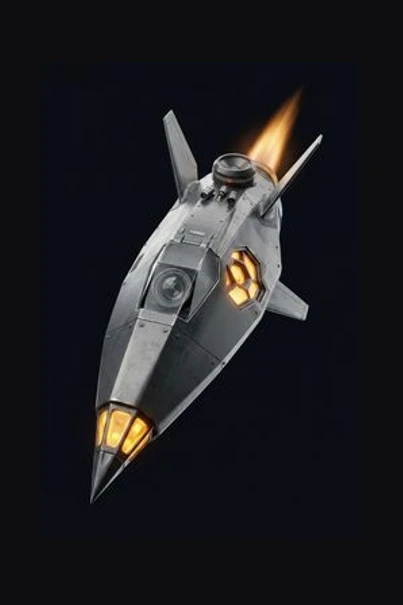
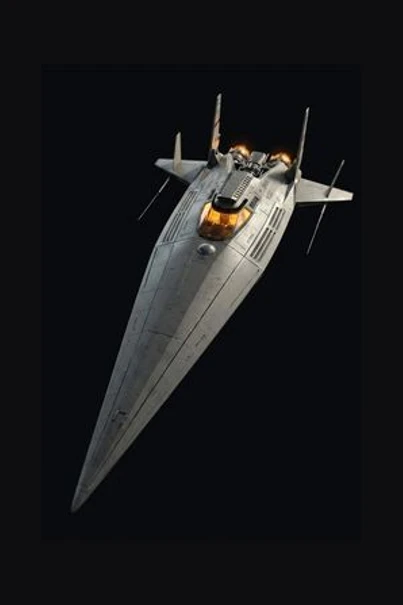
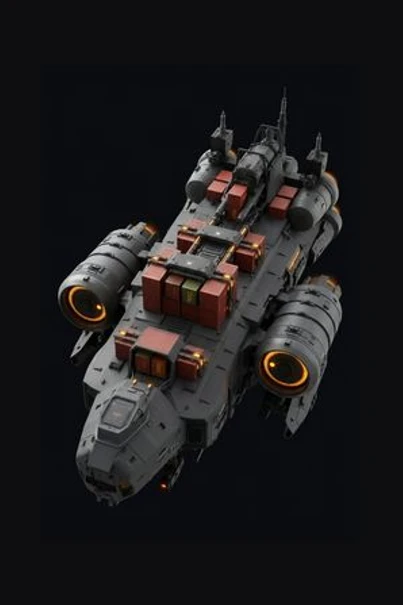
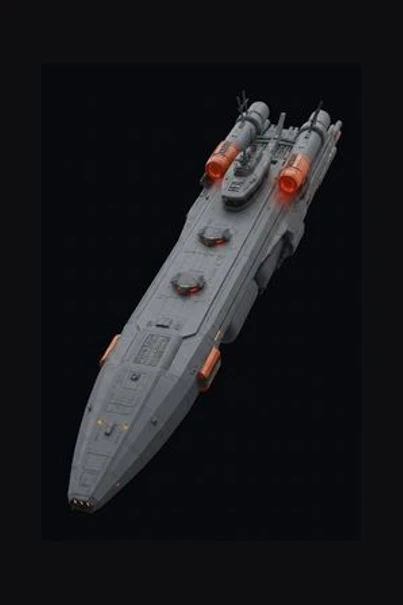
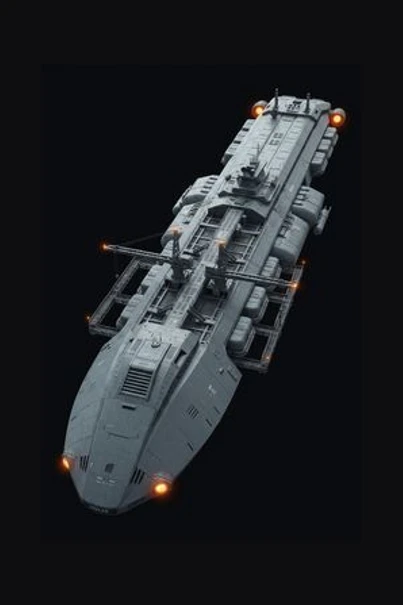
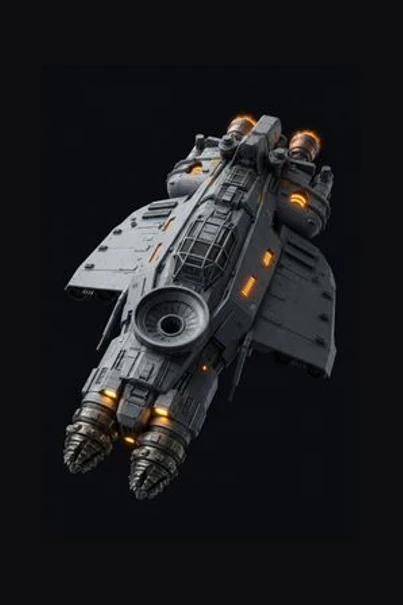
Cargo ships and scouts you bring on a raid can be shot. At home they stay out of the fight, which is between the world's warships, any allies sent to defend it, and its ground defences.
Ship dossiers
Every armed hull, side by side
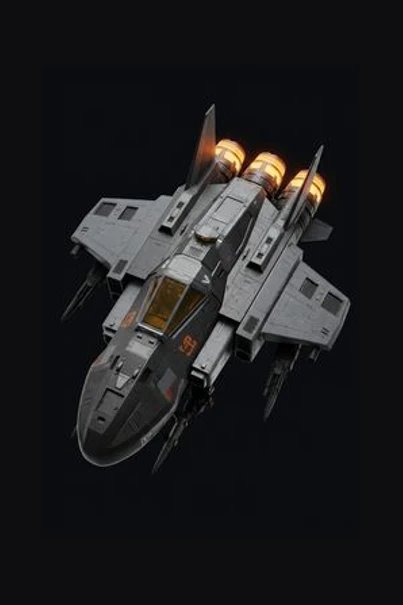
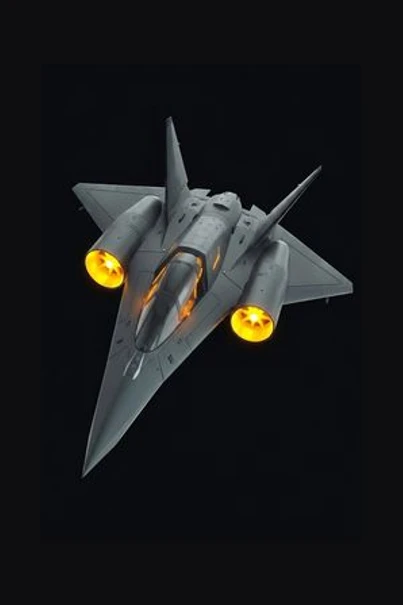
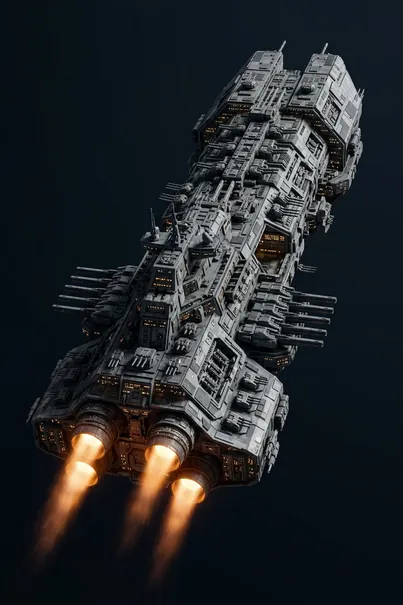
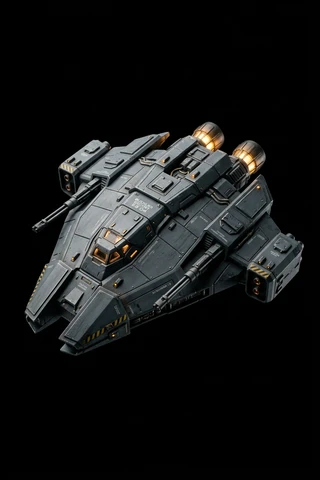
Atk is firepower per ship, Hull is hit points, Track is how well the guns follow fast targets, and Spd makes a ship harder to hit and better at escaping. Each bar is measured against the best ship in the game, on a curved scale so small ships still show.
Warships
Fighter
Overwhelm
Corvette
The screen
Frigate
The bodyguard
Destroyer
The siege breaker
Cruiser
The reachable capital
Battleship
Siege
Dreadnought
The statement
Centaurian Privateer
Payload run
Xandir Raider
The fast swarm
Colossus
Super capital
Buckler
The first tank
Bulwark
The heavy tank
Terellian Harbinger
Siege engine
Combat Engineer
The fleet healer
Ground defences
Laser Turret
The cheap tier answer
Missile Launcher
The same, aimed a tier up
Plasma Bastion
Capitals, without owning any
Ready to put it to use